A window over the kitchen sink isn’t just functional, it’s one of the highest-impact upgrades a homeowner can make. Whether you’re gazing out while washing dishes or letting natural light flood your workspace, the right small kitchen window transforms both how you use the space and how it feels. If you’re working with limited square footage or rethinking your kitchen layout, choosing and installing the right window style makes a measurable difference. This guide covers design options, installation considerations, and styling strategies to help you make an informed choice for your home.
Table of Contents
ToggleKey Takeaways
- A small kitchen window over sink enhances both functionality and aesthetics by providing natural light, task lighting, and creating a visual focal point that makes compact spaces feel more spacious.
- Single-hung, double-hung, casement, and awning windows each offer distinct advantages; single-hung and casement styles are most practical for typical sink installations at 24–36 inches wide.
- Proper installation requires careful measurement, quality exterior flashing, plastic shims for square alignment, and strict adherence to manufacturer guidelines—shortcuts with flashing are the leading cause of window failures.
- Position windows 36–42 inches above the countertop to clear standard faucets, verify local building codes, and confirm no plumbing or electrical obstacles before purchasing or cutting into walls.
- Kitchen windows need monthly cleaning and twice-yearly lubrication of operating parts; monitor caulk annually and replace weatherstripping promptly to prevent water damage and extend window lifespan.
- Well-designed kitchens with natural light and thoughtfully styled sink windows command higher resale values, making this upgrade both a practical daily improvement and a smart investment.
Why Kitchen Windows Over The Sink Matter
The kitchen sink is typically where homeowners spend 10–15 minutes a day, often while doing repetitive tasks. Natural light and a view make those minutes feel less like chores. A window in this spot also serves practical purposes: it provides task lighting during daylight hours, reduces the need for overhead fixtures, and improves ventilation if you choose an operable style.
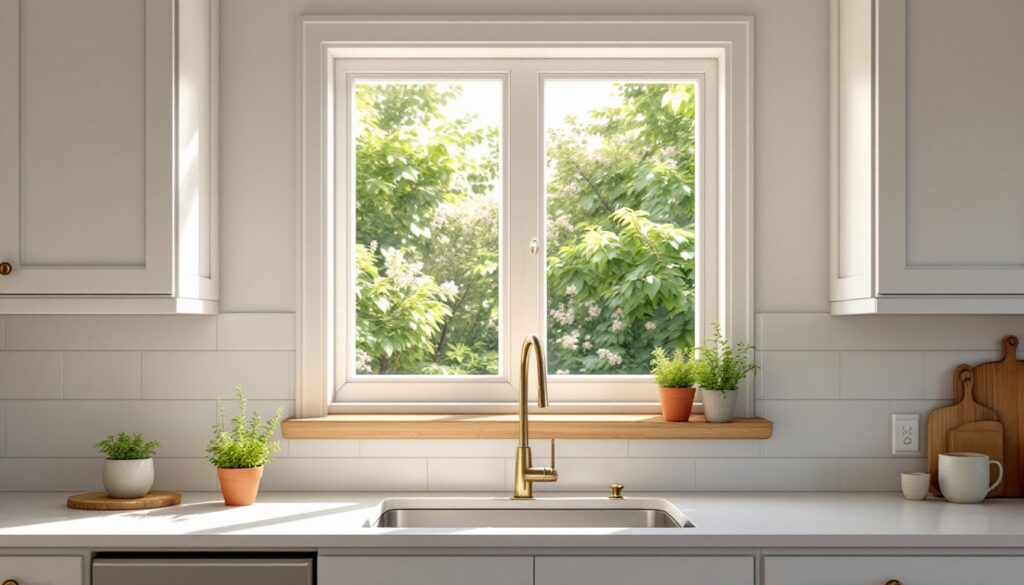
Beyond function, a window positioned above the sink draws the eye upward, making even compact kitchens feel more spacious. It creates a natural focal point and breaks up the monotony of cabinetry and backsplash. When strategically placed, a small kitchen window over sink can frame a garden view, street scene, or architectural detail, turning everyday moments into brief visual breaks. This is why designers often prioritize this spot when planning kitchen renovations.
From a resale perspective, homes with well-designed kitchens that emphasize natural light typically command higher asking prices. A thoughtfully chosen window signals that the kitchen is both functional and pleasurable.
Popular Small Kitchen Window Styles
Single-Hung and Double-Hung Windows
Single-hung windows (the lower sash moves, the upper is fixed) are a cost-effective choice for sink installations. They’re simpler mechanically, require less clearance below, and are commonly available in smaller dimensions. A standard 24-inch to 36-inch wide single-hung works well above most kitchen sinks without interfering with faucets or backsplashes.
Double-hung windows (both sashes move) offer more ventilation flexibility and a traditional aesthetic that suits period homes. They cost 15–25% more than single-hung units but allow you to open top or bottom sections independently. This is handy if you want to crack the top sash on a rainy day without splashing the sink.
Casement and Awning Windows
Casement windows (hinged on the side, crank-operated) are excellent for compact spaces because they don’t require sash clearance. The operable width is often 24 to 30 inches, perfect for a small kitchen window bay area. When open, the sash swings outward, directing cool air into the kitchen without blocking your sink workspace.
Awning windows (hinged at the top, opening outward at an angle) are less common above sinks but work beautifully in kitchens that catch afternoon rain. The angled opening naturally sheds water while still allowing airflow. Both casement and awning styles operate with hand cranks, so they’re accessible for those with limited hand strength. Installation over a sink requires slightly more careful planning to avoid hitting the faucet or backsplash trim.
Installation Considerations and Best Practices
Before purchasing, measure the rough opening carefully, not just the visible frame area. Mark where your sink extends, check for any plumbing vent pipes near the wall, and verify that electrical outlets or switches aren’t directly behind the proposed location. Most kitchen windows sit 36 to 42 inches above the countertop, which clears standard faucets with room to spare.
Check local building codes before starting. Some jurisdictions require egress windows (windows large enough for emergency exit) in certain rooms, though kitchens typically don’t fall into this category. If you’re removing an existing window or expanding an opening, permits are usually mandatory. Cutting into a load-bearing wall requires a structural header and often professional design approval, this isn’t a casual DIY task.
Flashing is critical. Install quality exterior flashing (typically galvanized or stainless steel) to direct water away from the wall cavity. Many DIY window failures stem from incomplete or improper flashing rather than the window unit itself. Apply a bead of exterior-grade caulk (silicone or acrylic latex) around the exterior trim where flashing meets siding. Follow the window manufacturer’s installation guide exactly: different styles have specific fastening and shimming requirements.
Use plastic shims (not wood) to ensure the frame is square and level before fastening. Check diagonals with a tape measure, if opposite corners differ by more than 1/4 inch, the frame is racked. Fasteners should go through the nailing fin directly into the framing, typically every 12 inches. Avoid over-tightening, which warps the frame and causes binding. Allow at least two weeks for caulk and any interior patching to fully cure before exposing the window to water.
Styling and Decorating Your Sink Window
Once installed, your kitchen window is a decorative opportunity. Natural wood trim enhances warmth, while painted trim (typically semi-gloss white or a soft neutral) offers durability and easy cleaning. If your window sits slightly proud of surrounding cabinetry, adding simple crown molding at the top creates architectural interest without overwhelming a small space.
For treatments, consider your priorities. A café-style curtain rod with lightweight linen panels allows light while providing privacy, they’re easy to launder and won’t interfere with operation. Roman shades offer a streamlined look and work well with casement or awning windows that open outward. If ventilation matters most, skip heavy drapes entirely and rely on the window’s function. Pruned houseplants or a narrow shelf of herbs below the sill turns the window into a functional display.
Backsplash tile and countertop materials frame the window visually. Light or neutral tones keep the focus on the view and the window frame itself. Dark tile can work, but it demands regular cleaning to keep soap splatter from being obvious. Resources like The Kitchn and Apartment Therapy showcase small kitchen solutions with window-focused design inspiration. For curated small-scale window ideas, 10 Easy Pieces: Kitchen Windows highlights inspiring compact designs that work in tight footprints.
Maintenance Tips for Sink Windows
Kitchen windows endure moisture, grease splatter, and temperature swings, more stress than windows in other rooms. Monthly cleaning keeps sashes and screens functioning smoothly. Use a damp microfiber cloth and mild soapy water: avoid abrasive scrubbers that scratch frames or glass.
If your window operates (single-hung, casement, or awning), apply a small amount of silicone-based lubricant to tracks and hinges twice yearly. This prevents sticking and extends the lifespan of moving parts. Check weatherstripping annually: if it’s cracked or peeling, replacement kits are inexpensive and take 15 minutes to install.
Monitor caulk around the frame. Water staining or soft spots in exterior caulk indicate it’s time to recaulk. Remove old caulk with a caulk removal tool or sharp utility knife, clean the joint thoroughly with a damp cloth, and apply fresh exterior-grade caulk. This preventive step avoids costly water damage inside the wall cavity.
For screens, wash them with warm soapy water and a soft brush once or twice a year, depending on local dust or pollen levels. A clean screen lets maximum light through and improves airflow when the window is open.