A wired security camera system with monitor screen offers homeowners a reliable, always-on surveillance solution without the battery concerns or Wi-Fi dropouts that plague wireless alternatives. Whether you’re protecting your front entrance, driveway, or backyard, a hardwired security camera system with monitor provides clarity, stability, and peace of mind. Unlike DIY smart home gadgets that come and go, a properly installed wired security camera system with monitor becomes part of your home’s permanent infrastructure, similar to electrical wiring or plumbing. This guide covers installation essentials, key features to prioritize, and placement strategy to help you choose and install a wired system that actually works.
Table of Contents
ToggleKey Takeaways
- A wired security camera system with monitor eliminates battery concerns and Wi-Fi dropouts by hardwiring cameras directly to a central NVR/DVR hub connected to a dedicated monitor.
- Wired systems cost $400–$800 for 2–4 cameras with monitor and recorder, saving money long-term since you avoid annual battery replacements ($10–$30 per camera) and monthly cloud subscriptions.
- Prioritize cameras with 1080p minimum resolution, adjustable motion detection zones, infrared night vision (60+ feet range), and IP66/IP67 weatherproofing for reliable outdoor surveillance.
- Mount cameras 8–10 feet high at entry/exit points (front door, back door, garage, driveway), angled downward 15–20 degrees to capture facial features while avoiding backlighting and streetlight interference.
- A wired security camera system with monitor becomes permanent home infrastructure that delivers uninterrupted footage during emergencies and often qualifies homeowners for insurance discounts.
- Use weatherproof conduit for exterior cable runs, bury cables at least 18 inches below grade, and consider Power over Ethernet (PoE) technology to simplify installation and reduce outlet requirements.
What Is A Wired Security Camera System With Monitor
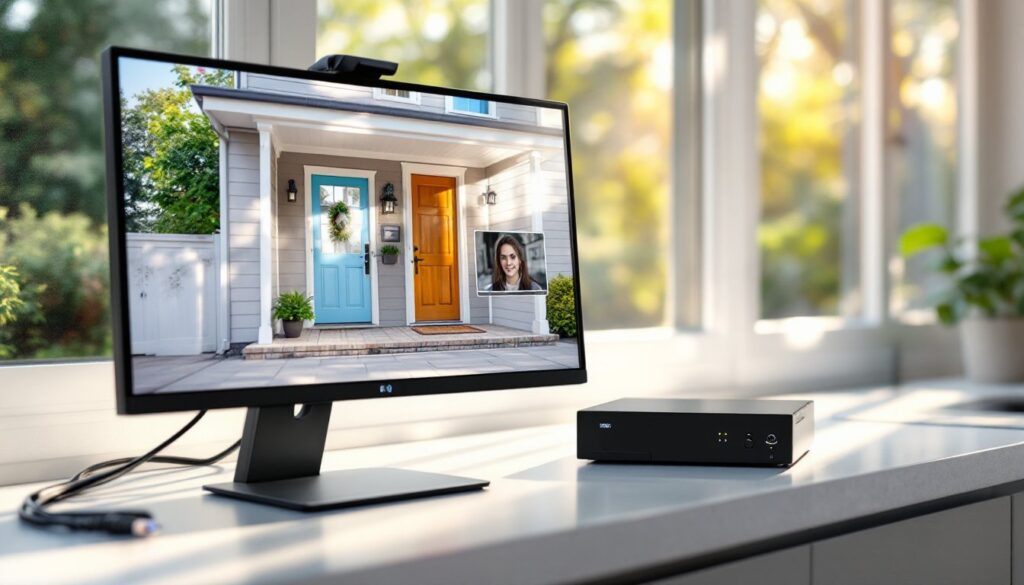
A wired security camera system with monitor screen consists of one or more cameras hardwired via Ethernet or coaxial cables to a central hub, typically a network video recorder (NVR) or digital video recorder (DVR), that connects to a dedicated monitor for live viewing and playback. Unlike wireless systems, power and data travel through the same physical cables, eliminating battery swaps and Wi-Fi dependency. The monitor sits on a shelf or mounts to a wall, displaying live feeds or triggered alerts in real time.
The system records continuously or on motion detection, storing footage on an internal hard drive. Most modern setups use Ethernet-based IP cameras, which deliver sharper resolution (often 1080p to 4K) and smarter features than older coaxial analog systems. You get what installers call “hardwired reliability”, no disconnections, no password resets, no firmware updates failing mid-stream.
Key Differences From Wireless Systems
Wireless security camera systems with monitor rely on Wi-Fi or cellular signals: wired systems do not. This difference shapes everything about installation, reliability, and maintenance. Wired systems require running cables through walls, attics, or along baseboards, more labor-intensive upfront but zero ongoing connectivity headaches. Wireless systems skip the cable run but trade reliability for convenience and depend on your home’s network strength.
Wired systems also cost less per camera over time because you’re not replacing batteries annually. Wireless cameras often fall out of sync after months of use: wired cameras stay synchronized indefinitely. If you’re serious about security coverage lasting five, ten, or twenty years without intervention, wired wins. That said, wireless offers faster, less invasive installation, choose based on your tolerance for drywall drilling and your patience with troubleshooting dropped connections.
Why Homeowners Choose Wired Systems For Home Security
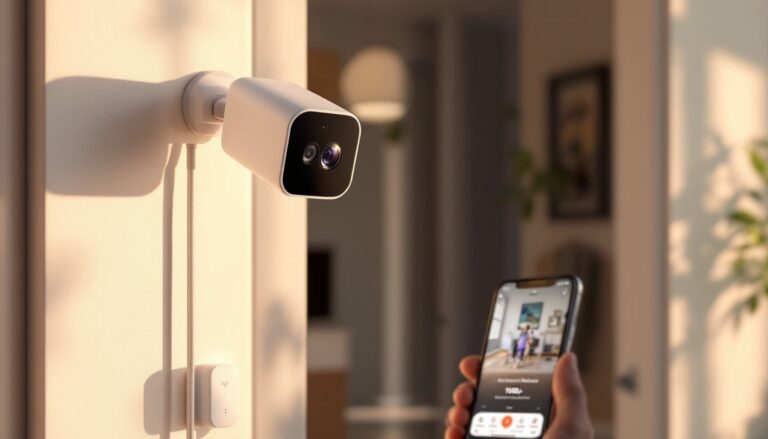
Wired systems appeal to homeowners who’ve experienced wireless camera frustration: forgotten password resets, Wi-Fi interference, battery warnings every third morning, or footage glitches during the one break-in attempt that mattered. A wired security camera system with monitor eliminates those aggravations. You press the button, the monitor lights up, and you see what’s happening. No app, no cloud subscription required, no smart home integration failure breaking your security chain.
Reliability matters most during emergencies. When police respond to a burglary, they want clear, uninterrupted footage, not a recovery attempt to restore Wi-Fi connectivity. Wired systems deliver every frame, every time. Insurance companies often offer discounts for hardwired systems because the loss probability drops measurably.
Cost-effectiveness seals the deal for many homeowners. A basic wired security camera system with monitor costs $400–$800 for two to four cameras including the monitor and recorder. Wireless alternatives of similar quality range $600–$1200 and require replacement batteries ($10–$30 per camera, annually). Over ten years, a wired system saves both money and the mental tax of scheduled maintenance. Homeowners also appreciate no hidden fees, you own the footage, store it locally, and don’t pay monthly cloud subscriptions.
Installation Considerations For DIY Projects
Running cables is the core DIY challenge. You’ll need to drill holes through exterior walls for camera runs and pull Ethernet cable (Cat5e or Cat6, typically shielded for outdoor runs) or coaxial cable (RG59 or RG6) from each camera location back to your NVR/DVR unit. Plan cable routes before buying hardware, identify studs, joists, and existing utilities to avoid damage.
For exterior runs, use weatherproof conduit and bury cables at least 18 inches below grade if running along a driveway or walkway. Exterior-rated cable alone isn’t enough: conduit protects from UV, rodents, and accidental digging. Interior runs can follow baseboards or climb stud cavities if you’re willing to open drywall temporarily.
Power adapters plug into standard 120V outlets near your NVR/DVR. Some systems use Power over Ethernet (PoE), which delivers power through the same Ethernet cable, cleaner, fewer outlet trips required. Check your system specs: PoE-capable units simplify installation considerably.
Consider your monitor location carefully. Place the central hub monitor where you spend time, kitchen, garage, or entryway, not in a locked closet. If you’re uncomfortable drilling through your home’s exterior or running cables through walls, hire a licensed electrician or security installer. Many offer reasonable rates ($200–$500) for cable runs, and a professional avoids code violations or structural damage.
Essential Features To Look For In A System
Resolution and night vision top the feature list. Look for cameras offering 1080p minimum (2MP): 2K (3MP) or 4K (8MP) is better but demands more storage. Night vision uses infrared (IR) LEDs to capture clear footage after dark, a 60-foot IR range is standard and adequate for most residential setups. Test the demo footage in your target lighting: some cameras produce grainy night video even though spec claims.
Wide viewing angle (110–130 degrees) covers more ground per camera, reducing the number needed for full perimeter coverage. A fish-eye lens stretches the angle further but distorts edges, acceptable for entry points, awkward for detailed facial recognition.
Motion detection sensitivity should be adjustable. You want alerts for intruders, not every passing dog or blowing leaf. Quality systems let you draw detection zones on the monitor, ignoring motion in certain areas. Weatherproof rating (IP66 or IP67) is non-negotiable for outdoor cameras, these numbers guarantee the unit survives rain, snow, and temperature swings.
Storage capacity matters because recorded footage fills drive space quickly. A 2TB hard drive stores roughly 30–50 days of continuous 1080p recording (varies by compression and resolution). Calculate your needs: if you want 60-day retention, plan for 4TB. Most systems support drive upgrades, so start modest and expand later if needed. Recent smart home technology reviews highlight systems with easy drive replacement and flexible storage scaling.
Placement Strategy For Maximum Coverage
Position cameras at entry and exit points: front door, back door, garage entry, and driveway. These are burglary hotspots and where footage proves most valuable to police. Mount cameras 8–10 feet high on siding or soffit, high enough to avoid tampering, low enough to capture facial features in daylight. Aim slightly downward (15–20 degrees) to catch faces, not just the tops of heads.
Avoid backlighting. If a camera points west toward sunset, subjects appear as silhouettes. Reverse the angle or add a second camera. Aim away from streetlights and porch lights that bloom during dark hours, washing out IR footage. Test placement by standing where intruders would stand and confirming the camera sees your face clearly.
For driveway and vehicle coverage, position one camera to capture license plates, typically 15–20 feet from the street with a moderate wide-angle lens. A second camera covering the driveway approach helps identify vehicles arriving or leaving. Corner cameras (upper edges of the home) extend coverage to property lines and neighboring approaches, valuable for context if something happens nearby.
Indoor monitors should position where household members naturally look, kitchen counter, garage workbench, or mudroom. Mount at eye level for comfort: a high or low monitor creates neck strain over time. Many homeowners add secondary wireless displays to bedrooms or remote areas, though hardwired monitor locations remain primary. Product reviews from trusted sources compare monitor features, refresh rates, and ease of use across popular wired systems.
Conclusion
A wired security camera system with monitor offers homeowners unmatched reliability and long-term savings compared to wireless alternatives. Running cables takes effort and planning, but the payoff, years of maintenance-free surveillance with crystal-clear footage, justifies the upfront labor. Prioritize resolution, night vision, motion detection, and strategic placement over fancy app features or cloud integration. Install correctly the first time, and your system works dependably for a decade or more.