Whether you’re working from home or upgrading your hobby workshop, a VESA monitor arm can transform how your workspace functions. Instead of staring down at a flat surface monitor or cramming your desk with monitor stands, a quality arm frees up real estate and lets you adjust your screen to eye level, exactly where ergonomic best practice says it should be. If you’ve been considering one but aren’t sure what to look for or how to set it up, this guide walks you through everything you need to know to make an informed choice and get your monitor positioned right.
Table of Contents
ToggleKey Takeaways
- A VESA monitor arm attaches to your display via a standardized VESA mount pattern and bolts to your desk or wall, freeing up desk space while enabling precise height and angle adjustments for ergonomic positioning.
- Proper monitor arm positioning—with your screen at eye level or slightly downward—reduces neck strain, eye fatigue, and repetitive strain injury (RSI) risk, delivering measurable health benefits for anyone working 6+ hours daily at a computer.
- Installation requires confirming your monitor’s VESA pattern and weight before purchase, attaching the VESA adapter plate, securing the arm base with a clamp or grommet mount, and testing full range of motion to ensure stability.
- A VESA monitor arm reclaims 8 to 10 inches of desk depth compared to a bulky stand, creating workspace flexibility to reposition your display throughout the day as your tasks change.
- Quality monitor arms support weight ranges of 4 to 30 pounds, making it critical to match your monitor’s weight to the arm’s capacity to prevent instability or drooping.
- This single upgrade costs less than a new desk, takes about an hour to install, and immediately improves both your posture and productivity in home offices and shared workspaces.
What Is a VESA Monitor Arm?
A VESA monitor arm is a mechanical support system that holds your display by attaching to the back of the monitor via a VESA mount pattern, a standard grid of threaded holes on the rear of most modern monitors. VESA stands for Video Electronics Standards Association, and the pattern comes in common sizes: 75×75 mm, 100×100 mm, 200×100 mm, and 200×200 mm. The arm itself usually bolts to your desk via a clamp or grommet mount, or to the wall for a more permanent installation.
These arms feature articulated joints that let you tilt, rotate, pan, and adjust height across a range of motion. Some are single-monitor mounts: others hold two or three displays. What makes them different from a basic monitor stand is flexibility, you can reposition throughout the day without lifting the monitor itself. Most quality arms are rated to support a specific weight range (typically 4 to 30 pounds), so matching your monitor’s weight to the arm’s capacity is critical. Under-spec or over-spec, and you’ll either get instability or a drooping display.
Why Choose a VESA Monitor Arm for Your Home Office
Improved Ergonomics and Health Benefits
The top reason people install a monitor arm is ergonomics. Your eyes should look straight ahead or slightly downward (about 15 degrees below eye level) when seated. If your monitor is too low or too high, you’ll twist your neck, round your shoulders, and strain your upper back within hours, and that damage accumulates. A VESA arm lets you position the screen at the correct height and distance, which reduces eye strain, neck tension, and the fatigue that comes from poor posture. Over months, that’s the difference between back pain that interrupts your work and a comfortable setup that supports an 8-hour workday.
Beyond comfort, research on ergonomic monitor positioning shows that proper alignment reduces repetitive strain injury (RSI) risk. If you’re spending 6+ hours a day at a computer, small adjustments compound into measurable health benefits.
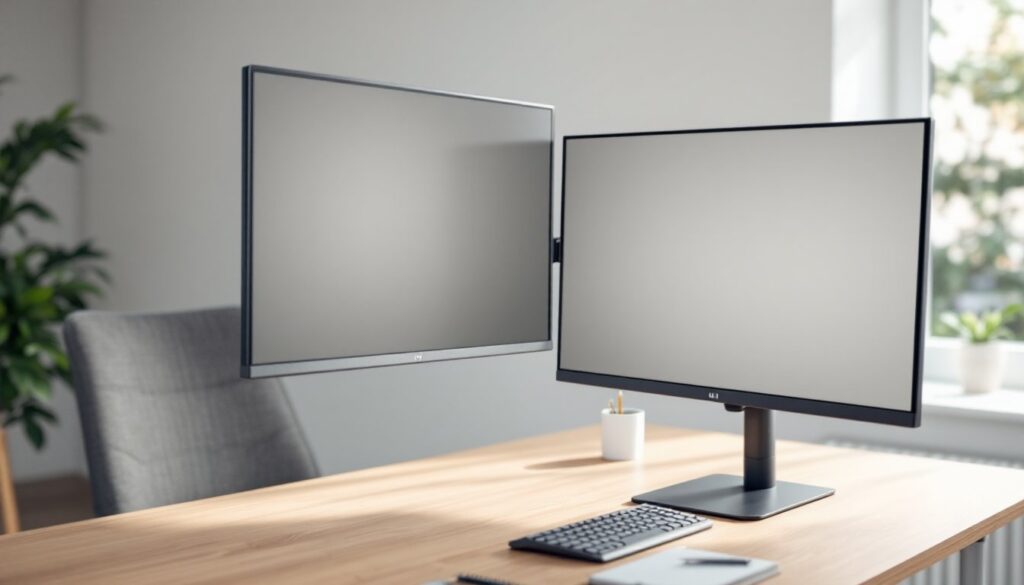
Space Savings and Workspace Flexibility
A monitor arm reclaims valuable desk surface. Instead of a bulky stand taking up 12 inches of depth, an arm uses only the footprint of the base clamp, often 2 to 4 inches. That freed-up space is where your keyboard, mouse, or work materials go. For small home offices or shared desks, this reclamation of real estate is huge. You also gain the flexibility to swing the monitor to the side, pull it closer, or tilt it as your task changes. Working on spreadsheets? Pull the monitor closer and angle it for easier reading. On a Zoom call? Rotate it to face the camera directly.
Many setups benefit from the top monitor arms tested for stability and adjustability, which offer smooth movements that stay put once locked in place.
How to Install and Mount a VESA Monitor Arm
Before you buy, confirm your monitor’s VESA pattern and weight. Turn off the monitor, unplug it, and check the spec sheet or rear sticker, it’ll list something like “VESA 100×100” and “Weight: 8 lbs.” Make sure the arm you choose supports both numbers.
Materials and tools you’ll need:
- VESA monitor arm (rated for your monitor’s weight and pattern)
- Desk clamp or grommet mount (depending on arm model)
- Drill with bits (if using grommet mount)
- Level
- Screwdriver (Phillips or Robertson, depending on hardware)
- Wrench or hex key set
Installation steps:
-
Attach the VESA plate to the monitor. Most arms include a VESA adapter plate with a set of threaded studs. Line up the plate’s holes with the monitor’s VESA holes. Insert the M4 or M3 bolts (included) and hand-tighten them first, do not overtighten, or you’ll crack the plastic housing. Use a wrench to snug them firmly but gently.
-
Install the arm base. If using a desk clamp, position the base where you want it (usually right side of the desk, 4 to 6 inches inboard from the edge) and clamp it down. Tighten the clamp lever or bolts until the base doesn’t shift. For a grommet mount (where the arm bolts through a hole in the desk), drill a hole matching the arm’s base diameter, insert the grommet, and bolt the base through.
-
Connect the arm to the VESA plate. Most single-monitor arms use a single joint or a double-joint design. Align the VESA plate connector with the arm’s connector and slide or bolt it together. Snug the bolts but leave enough play to adjust.
-
Test and adjust. Before calling it done, move the arm through its full range of motion, up, down, forward, backward, rotate. Make sure the monitor moves smoothly and holds position when you let go. If it droops, the arm may be under-rated for your monitor’s weight, or the pressure adjustment (a tension screw on most arms) is set too loose. Refer to the manual to increase tension.
-
Level and position. Use a level to ensure the monitor face is vertical, not tilted. Adjust the arm until your eye line naturally lands at the top third of the screen when you’re sitting upright.
Safety notes: Do not work on a plugged-in monitor. If you’re mounting an arm to drywall without studs, use heavy-duty toggle bolts or a wall anchor rated for the arm and monitor’s combined weight. Some installations, especially wall mounts above desks in rented spaces, may need landlord approval or require a licensed installer to avoid damage. Always double-check the arm’s weight rating, it’s there for safety.
Conclusion
A VESA monitor arm is one of the quickest, most effective upgrades you can make to your workspace. It costs less than a new desk, takes an hour to install, and immediately improves your posture and productivity. The best monitor arms available today offer smooth adjustability, solid build quality, and the flexibility to grow with your setup as you add a second monitor or reorganize your desk. Whether you’re assembling a new home office or refreshing an old one, don’t skip this investment.