Your water softener sits quietly in the basement, doing its job, until it doesn’t. One day you notice that soap doesn’t lather, or your dishes spot up like it’s been months since maintenance. You check the salt tank and find it looking full, even though the system should be cycling through it. Welcome to the salt bridge problem, one of the most common, and most fixable, issues homeowners face with water softeners. This guide walks you through what causes salt bridges, how to spot them, and how to get your system back online without calling a technician.
Table of Contents
ToggleKey Takeaways
- A water softener salt bridge forms when salt crystals bond together due to moisture and temperature changes, creating a hard crust that prevents salt from dissolving into the brine solution.
- You can break a salt bridge in 10 to 15 minutes using just hot water, a plastic rod, work gloves, and safety glasses—no professional service required.
- The salt bridge problem affects roughly 30 percent of residential water softeners and is easily preventable by using quality pellet salt, maintaining proper humidity levels, and checking salt levels monthly.
- Hard water signs like poor soap lather, spotted dishes, and no system regeneration—despite a full-looking salt tank—are clear indicators that a salt bridge is blocking your water softener.
- Investing in food-grade pellet salt or solar-evaporated salt over cheap rock salt, keeping your basement humidity below 60 percent, and avoiding overfilling the tank can eliminate future salt bridges.
Understanding Salt Bridges In Water Softeners
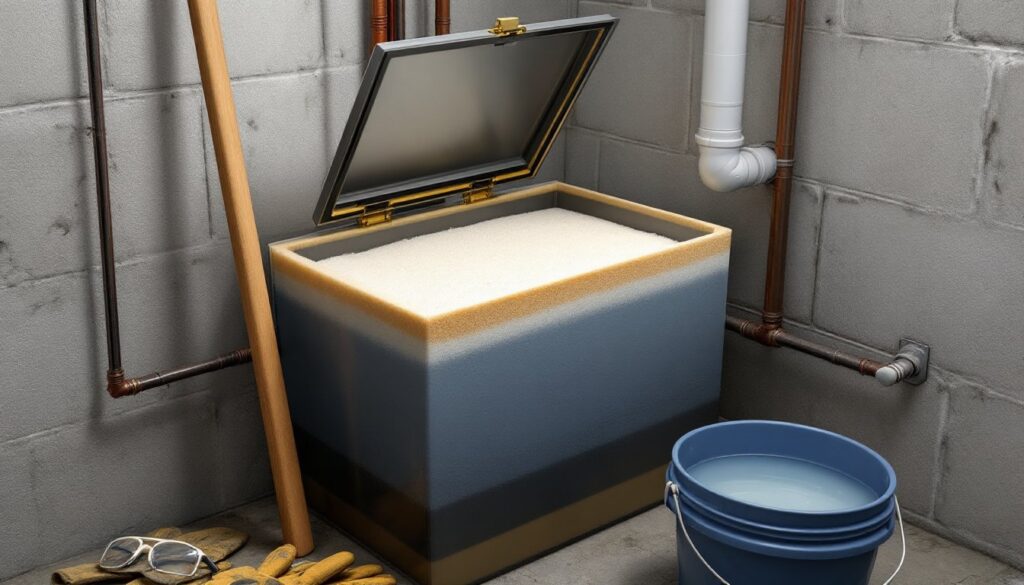
A salt bridge is a hard, crusty shell that forms inside your water softener’s brine tank, the tank that holds the salt pellets or crystals. This crust sits above the water level and prevents salt from dissolving and mixing into the brine solution. Think of it like the skin that forms on top of old paint: it’s solid enough to feel like the tank is still full of usable salt, but the salt isn’t actually getting into the system where it needs to be.
How A Salt Bridge Forms
Salt bridges form when salt crystals bond together under moisture and pressure. The culprit is usually humidity or temperature swings in the space where your softener sits. Basements, crawl spaces, and garages experience temperature changes that cause salt to absorb and release moisture. When pellets get damp and then dry out, they harden into a solid block.
Another common cause is using the wrong type of salt. Rock salt (the cheapest option) contains more minerals and clay than pellet salt or solar salt, making it more prone to bridging. If you’re buying rock salt for $4 a bag, you might be setting yourself up for a salt bridge in a few weeks. Similarly, pellets that have been sitting in humidity before installation sometimes arrive pre-damp.
Water chemistry plays a role too. If your water is extremely hard or has high iron content, the brine solution can thicken, and salt particles stick together more readily. Some softener models are also more susceptible than others, tank design and drainage configuration matter.
Why Salt Bridges Are A Common Problem
Salt bridges aren’t a manufacturing defect or a sign your softener is broken. They’re a physics issue that happens in roughly 30 percent of residential water softeners over their lifetime, especially in humid climates. Unlike many home repairs, a salt bridge doesn’t require parts replacement or professional service, just awareness and the right fix.
The reason they’re so common is that homeowners often set up their softeners and forget about them. Water softeners are designed to be low-maintenance, which means many people go weeks or months without opening the brine tank to check salt levels. By the time they notice soft water is gone, a solid crust has had time to form.
Environmental factors amplify the problem. Basement moisture, summer humidity, and even proximity to an exterior wall where temperature swings are worst can all trigger bridging. Homes in the Midwest and Gulf Coast regions, places with higher humidity, see salt bridges more often. Regions with very cold winters where basements get frost also experience more bridging due to temperature cycling.
The fix is straightforward, though, which is why understanding salt bridges is so valuable. Once you know what causes them, prevention becomes easier than the occasional 15-minute repair.
Signs Your Water Softener Has A Salt Bridge
Hard water is the first red flag. If your water stopped being soft, soap doesn’t suds, dishes spot, or your shower feels sticky, but the salt tank looks full, you likely have a bridge. Many homeowners assume the tank is empty and buy more salt when the real problem is that existing salt isn’t accessible.
Look for a hollow sound when you tap the side of the brine tank. A full tank of loose salt will feel and sound solid, but if there’s a bridge, you’ll hear a hollow echo inside the tank. This happens because the crust sits on top and doesn’t fill the entire space.
Another clue is how salt sits in the tank. Stick your arm down (gloved) and feel around the edges. If salt crumbles easily and mixes with liquid as you press, it’s fine. If you hit a hard, rock-solid layer that doesn’t move, that’s your bridge.
Check the resin tank drain lines too. On some models, if a bridge blocks brine from entering the resin tank, the system will generate a fault code or stop cycling entirely. Depending on your softener model, you might see error codes on the control panel, or the system simply won’t regenerate at the scheduled time. No regeneration means no softening action.
How To Break A Salt Bridge: Step-By-Step
Breaking a salt bridge takes 10 to 15 minutes and requires only hot water and caution. You don’t need special tools, but wear work gloves and eye protection since salt crystals can chip and splinter.
What you’ll need:
- Work gloves (nitrile or leather)
- Safety glasses
- Bucket (5-gallon)
- Long wooden rod, plastic rod, or PVC pipe (at least 3 feet long, 1 inch diameter or less)
- Hot water (from your tap or a kettle)
- Towels to catch spillage
The process:
-
Turn off the softener at the control panel or power switch. Many units have a bypass valve you can engage to stop incoming water. Don’t skip this, you need the system idle while you work inside the tank.
-
Locate the brine tank lid on top of the tank. Lift it off or unscrew it (designs vary). Set it aside on a towel.
-
Look inside without reaching yet. Identify the salt bridge. You’ll see a hard crust above or on the surface of the brine solution. Some bridges sit near the top: others are thick throughout the tank.
-
Pour hot water slowly around the edges of the crust and into any visible cracks or seams. Start with a gallon or two. The hot water weakens the salt bond and causes slight dissolution. Wait a minute for it to penetrate.
-
Use the rod to gently break the crust. Push downward or side-to-side on the hard layer. Don’t smash or thrash, controlled pressure is more effective and safer. A step-by-step DIY repair tutorial can show softener-specific techniques if you’re uncertain about your model.
-
Add more hot water in layers. After cracking the crust with the rod, pour additional hot water to dissolve the broken pieces. The combination of physical disruption and heat usually breaks the bridge in 2 to 3 applications.
-
Stir the brine solution gently. Once the bridge is broken, use the rod to mix the remaining salt into the brine. The goal is a uniform, salty liquid with no floating crust.
-
Replace the lid and turn the softener back on or off bypass. Regenerate the system manually if your control panel allows it. This draws the newly broken salt brine through the resin tank and restores softening capacity.
Safety note: Never use metal rods inside the tank, they can react with the brine or damage the tank interior. Stick with wood or plastic. Also, don’t use boiling water: hot tap water (around 110 to 120°F) is sufficient and safer to handle.
If the bridge doesn’t break after three applications of hot water and rod work, or if you can’t access it safely, contact a water softener technician. Some bridges are too thick or lodged in ways that need professional removal, especially on older units.
Preventing Salt Bridges In The Future
Prevention saves you the hassle of repeating this fix every season. Here’s what works:
Buy the right salt. Use food-grade pellet salt or solar-evaporated salt instead of rock salt. Both have lower mineral content and resist bridging. Yes, they cost a bit more, around $6 to $8 per bag versus $4 for rock salt, but fewer bridges mean less hassle. Check the label for “99.5 percent pure NaCl” as a good indicator.
Keep the brine tank dry. If your softener sits in a damp basement, run a dehumidifier nearby or ensure the space has decent air circulation. Keeping relative humidity below 60 percent dramatically reduces salt moisture absorption. Consider using a homeowner cost estimator if you’re thinking about relocating your softener to a drier space or installing a dehumidifier.
Check salt levels monthly. A quick monthly glance at the tank prevents surprises. Most softeners need salt refilled every 4 to 8 weeks depending on water hardness and usage. Consistent levels mean you catch bridges early or spot damp salt before it bridges.
Maintain proper water levels. The brine tank should have a small amount of water at the bottom, usually 12 to 18 inches. Too little water and salt gets compacted: too much and salt stays overly moist. Check your softener manual for the correct level for your model.
Avoid overfilling. Don’t cram the tank full of salt. The tank should be 3/4 full at most. Overloading increases pressure and moisture retention, which accelerates bridging.
Use additives selectively. Some water softener salt comes with anti-caking agents. These can help in very humid climates, but they’re not necessary for most homes. If you’re in a damp environment, they’re worth the extra cost.
These steps take minimal effort but add up to years of trouble-free softening.
Conclusion
A salt bridge isn’t a catastrophe, it’s a predictable issue that’s easily fixed if you know what you’re looking at. Recognize the signs, grab a rod and hot water, and you’ll have soft water flowing again in 15 minutes. The real payoff comes from preventing the next one: use quality salt, keep your tank dry, and check levels monthly. Your water softener will keep working quietly in the background, exactly as it should.